Woods
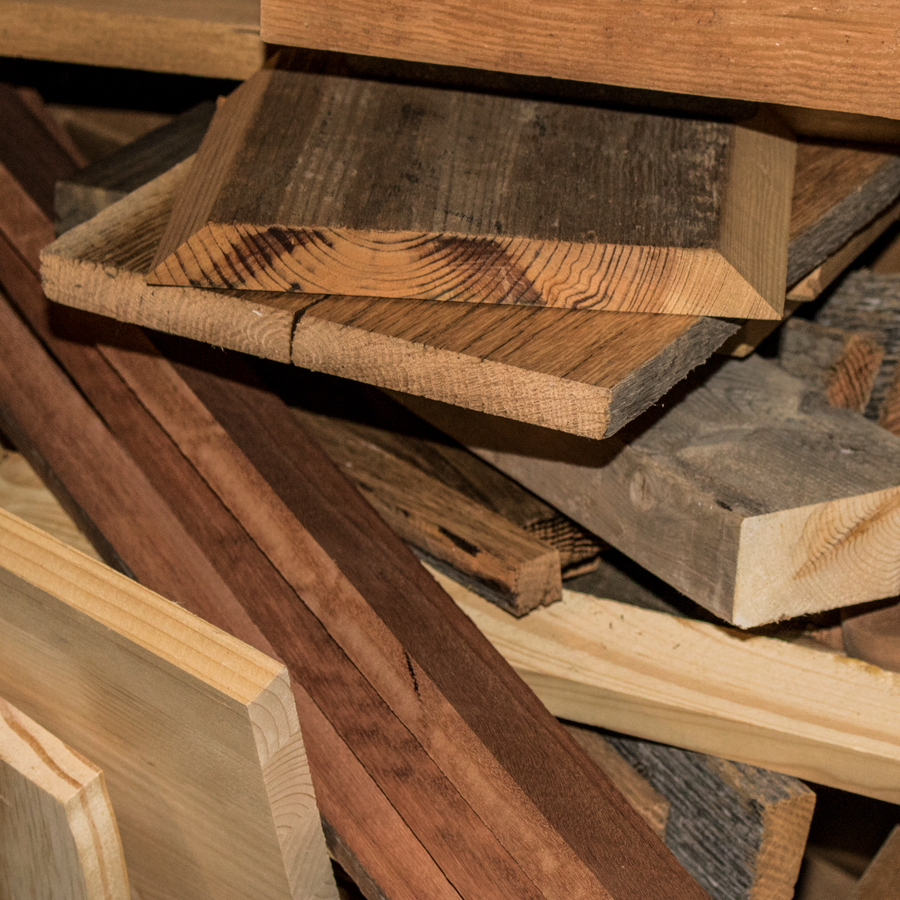
The most common wood for Intarsia is Western Red Cedar because of its endless variety of color and grain texture. But you can use any other wood you like the look of. I regard all the woods as the palette I have to work with in the same way an oil painter looks at their paints.
Start with a pattern
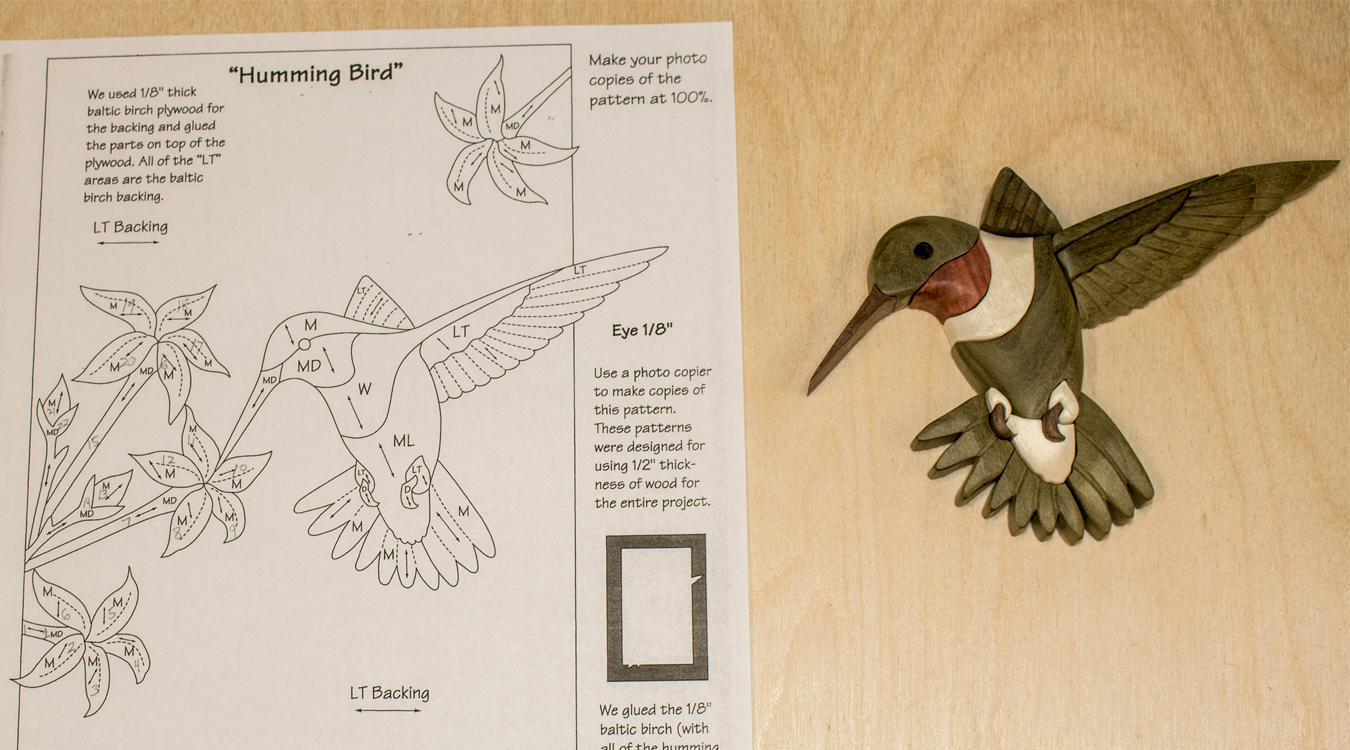
Transfer it to the wood by tracing with tracing paper or make a template of the pattern. I prefer the template method. They are very simple and a good way to get your feet wet in Intarsia.
Cutting
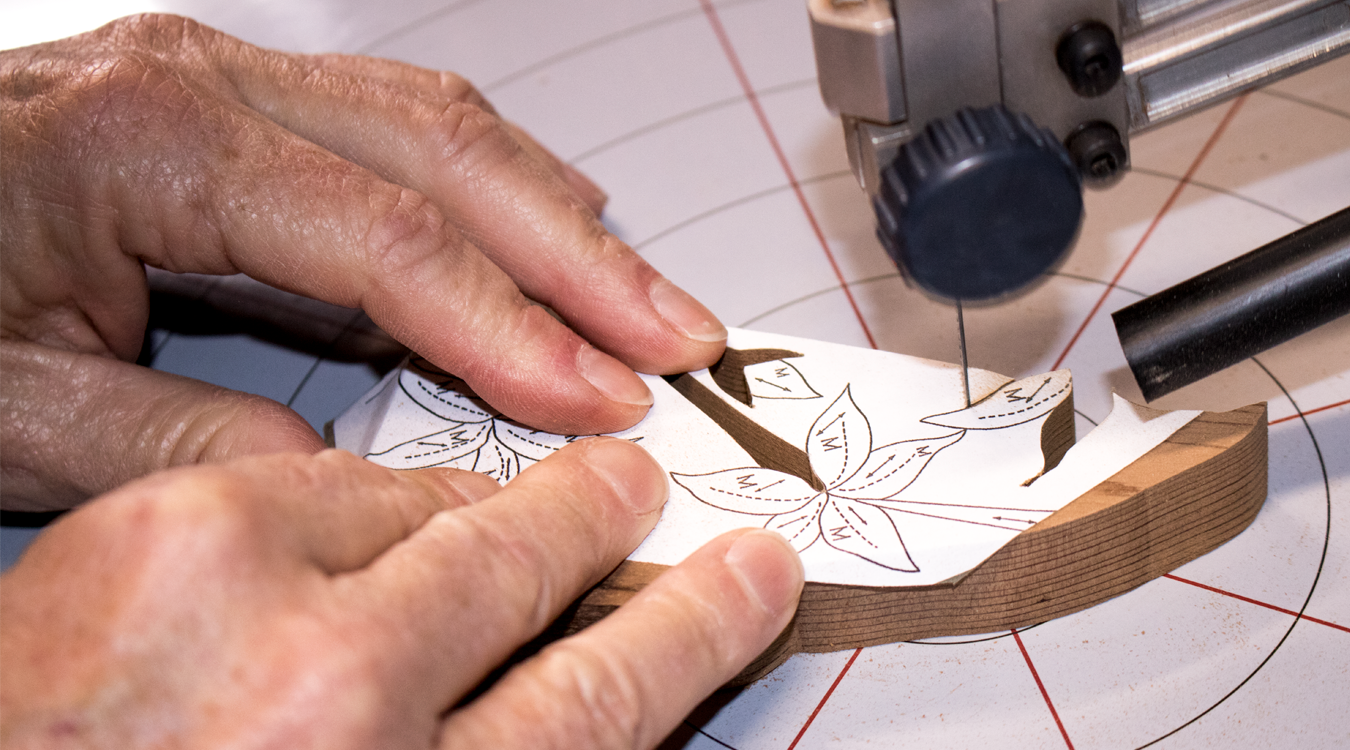
Technically the most important step, cut very carefully and the project should fit fairly well. After its all cut out assemble the project and check for fit. You may have to trim the odd piece or even remake a piece. Use sharp scroll saw blades with lubrication for best results.
Shaping
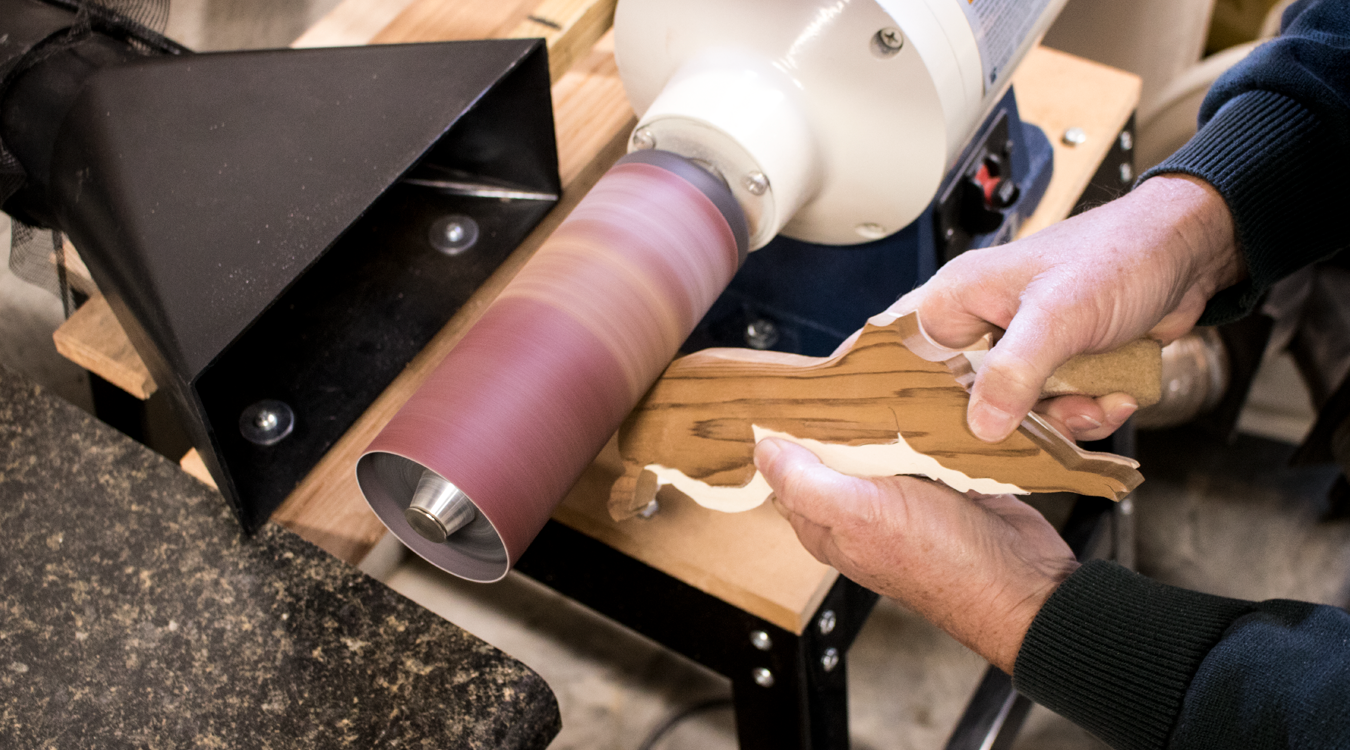
Try to achieve a smooth look, an even transition from one level and piece to another. You want to achieve a nice relief look. Glue the pieces on to a backing of 1/4 inch plywood. Baltic Birch is the best, with ordinary white carpenters glue.
Finishing
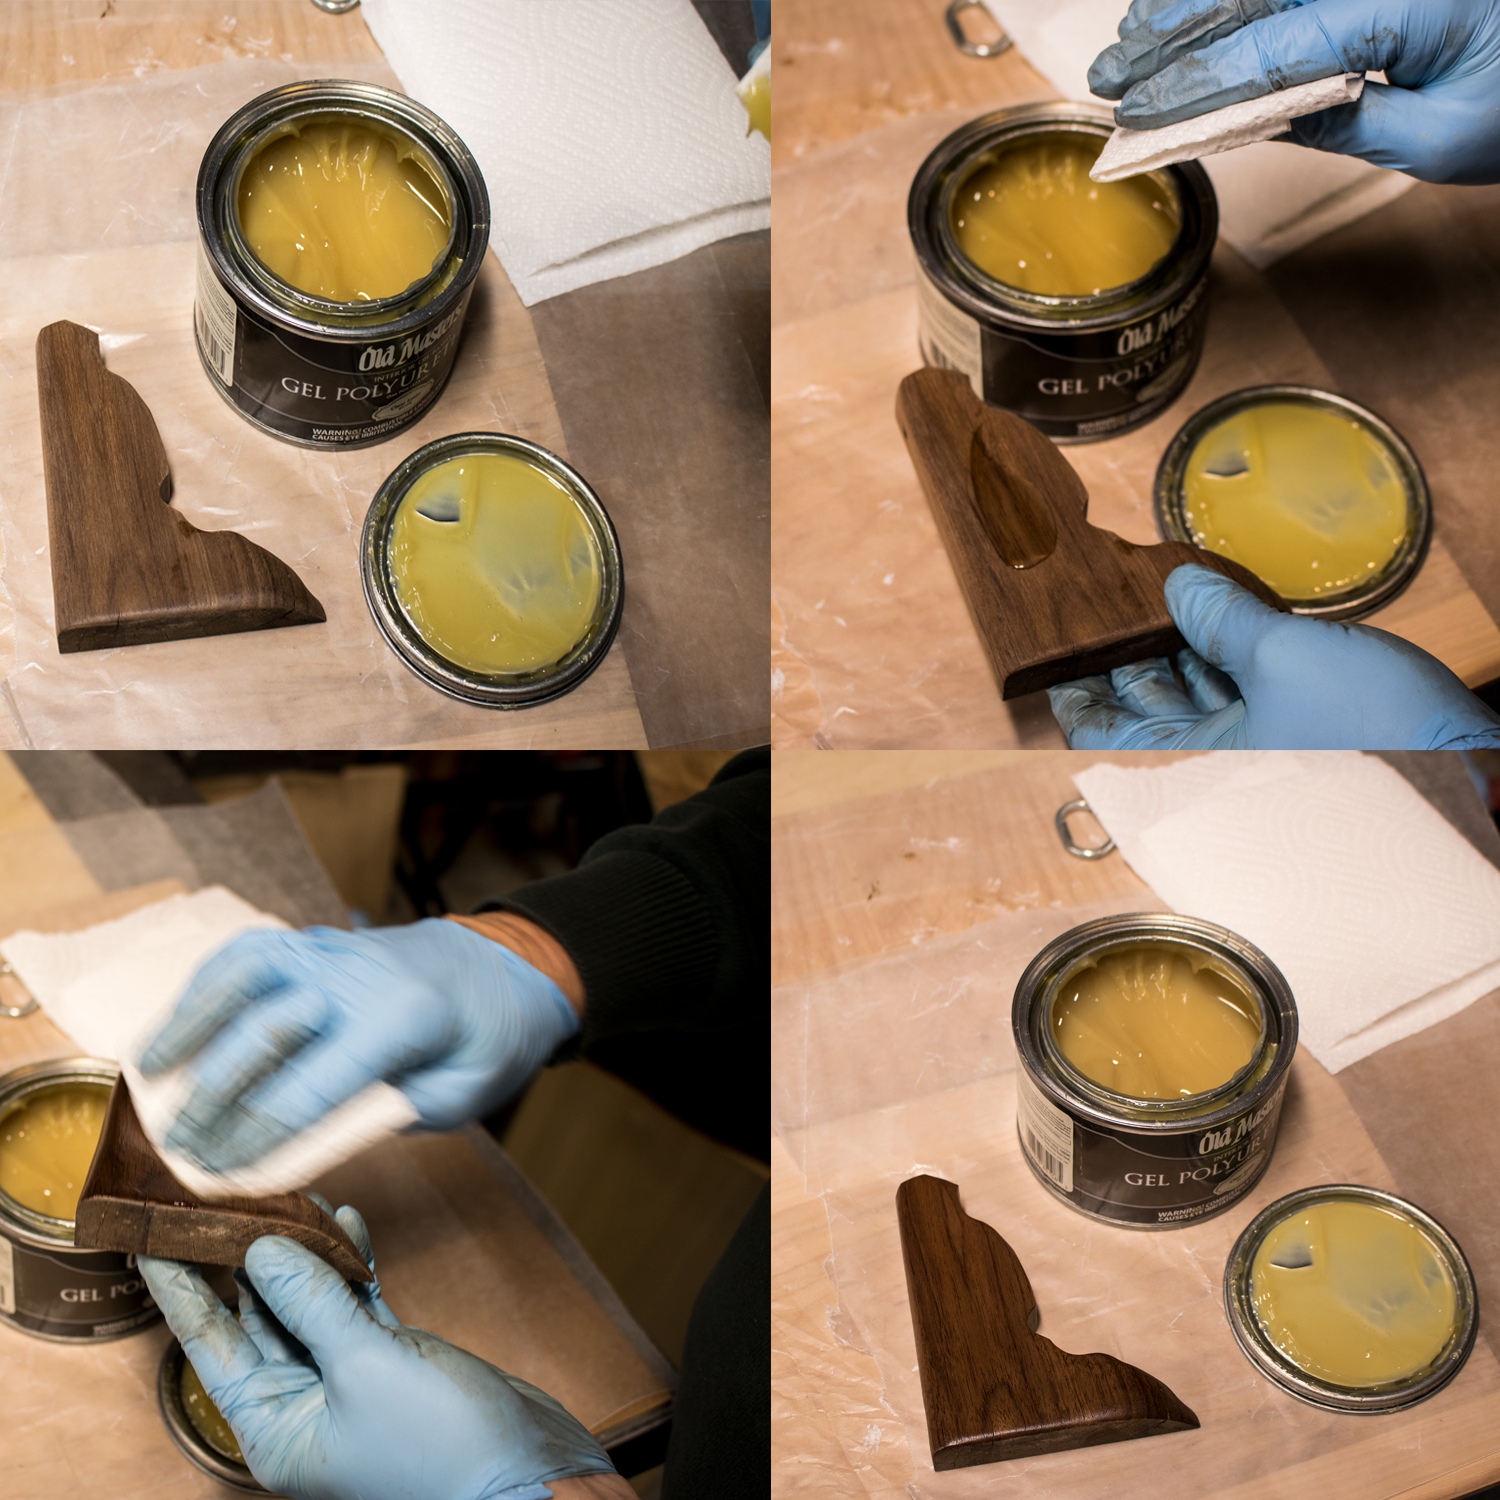
Apply a finish, and again there is no one finish for Intarsia, any wood finish will work. Use what you like and are familiar with. I prefer a satin finish with three coats.
Hanging
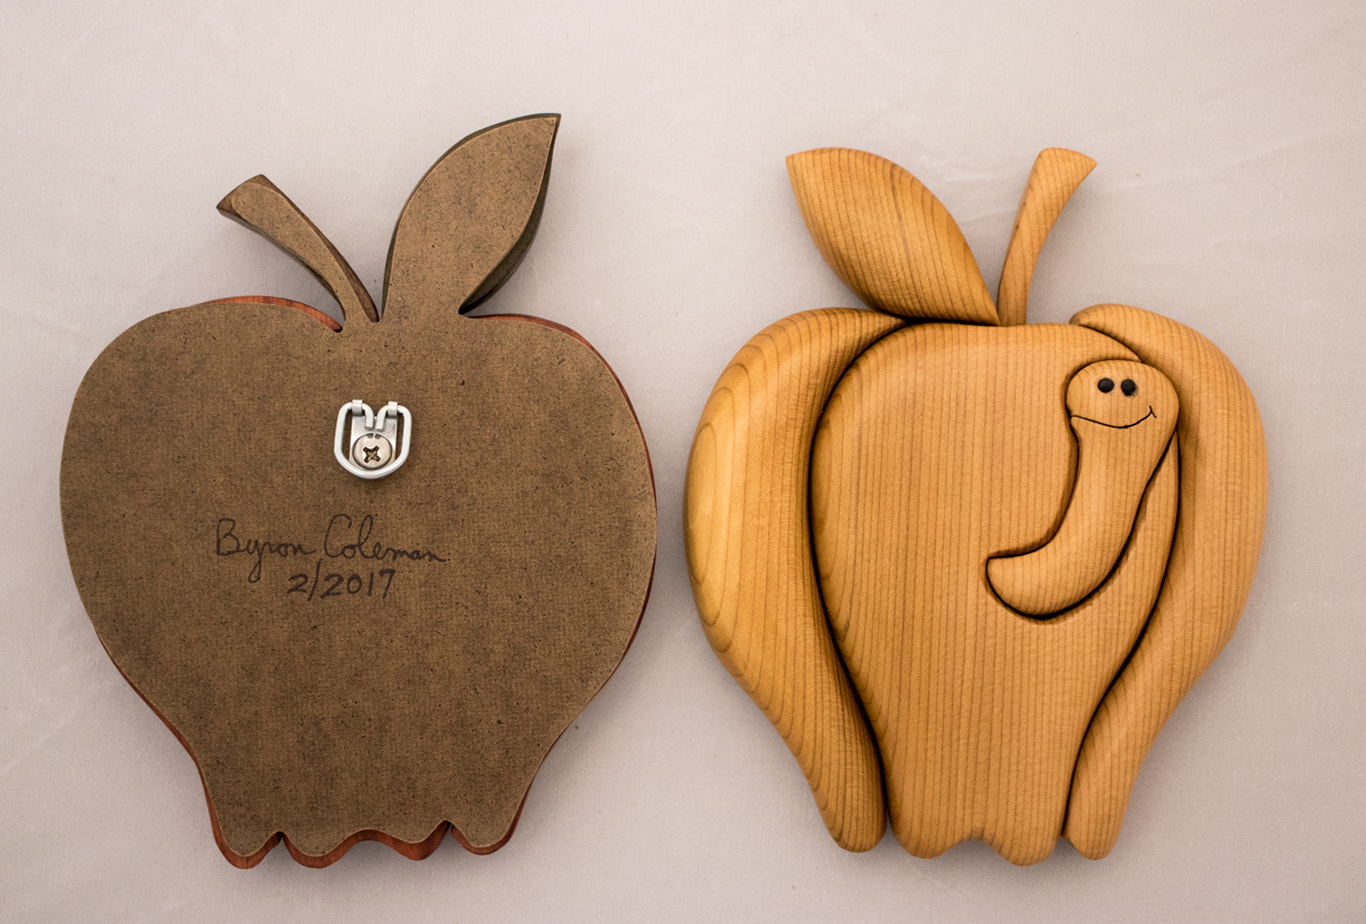
Attach a hanger, hang it on a wall, stand back and admire.
